
Story
Zetsubou No Shima is part of the Aether Story continuity.
Call of Duty: Black Ops III · Eclipse · Aether era
A hostile Pacific island of Division 9 experiments.
A diagram of how the areas connect. It shows routes and neighbours, not distances or shapes — it is not to scale.
Open route diagramMain Quest
Seeds of Doubt is the main Easter egg on Zetsubou No Shima. It requires the Skull of Nan Sapwe to reveal hidden geometry, the Masamune to damage the boss, a Gas Mask for every player, and — unavoidably — the Anywhere But Here! GobbleGum to reach one of the three cogs. Expect the setup to take considerably longer than the fight.
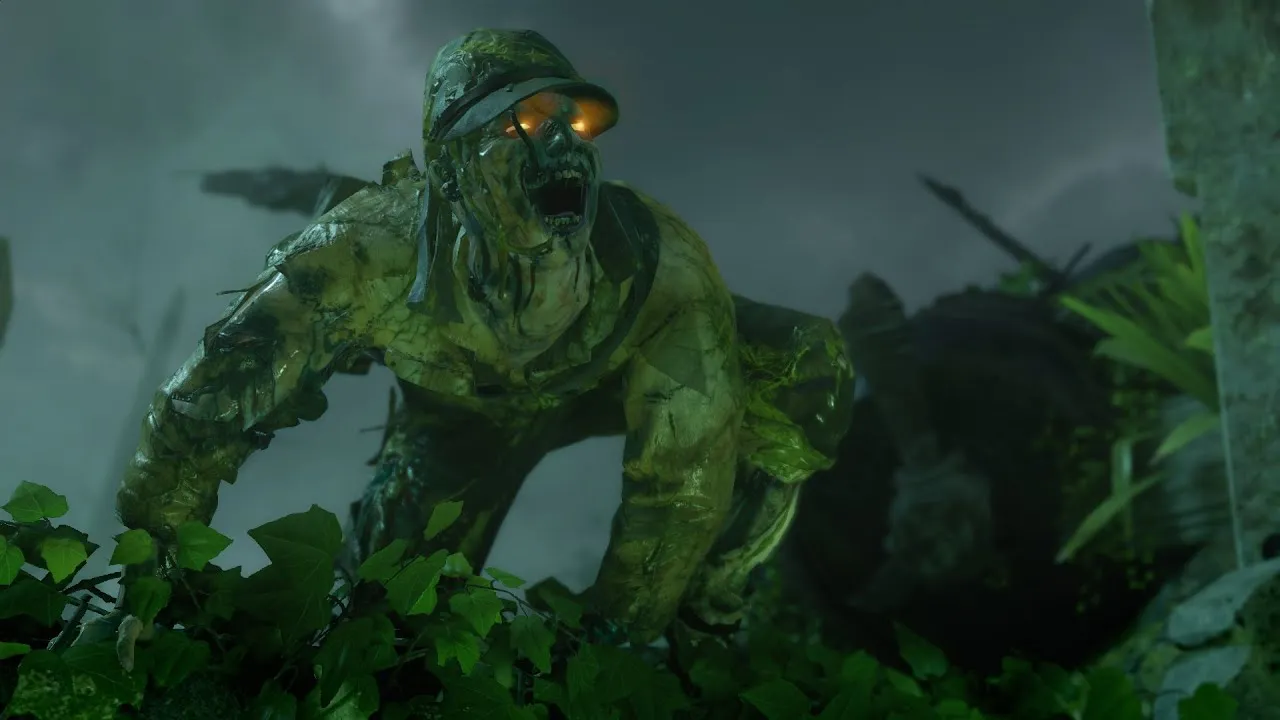
Zetsubou No Shima — “Island of Despair” — strands Primis on a Pacific island built over an abandoned Division 9 research facility. It is the most hostile environment in Black Ops III: the water is contaminated, the air is full of spores that stop you sprinting, and the plants are part of the map’s economy rather than scenery.
It also has the most involved setup of any map in the game. Power alone is a three-stage process, and the Pack-a-Punch is underwater behind three scattered parts. Budget a full game just to get running, and expect the island to punish you for rushing it.
There are effectively three power steps, and the first two do not turn the lights on.
The machine is submerged in the flooded lower level of the Bunker. Three parts go onto the three drain pumps around it; once the water is gone it stays gone.
One part spawns on the grate in front of Turbine #3 immediately after the power lockdown. Another is deep underwater past Mule Kick, at the end of the raw Divinium tunnel. The third is dropped by one of the hanging cocoons in the purple-water room off the Living Quarters — this one is documented only by community guides, and we have not been able to confirm whether its spawn is fixed or random.
The KT-4 is built at a bench in the Bunker and fires a green fluid that grows exploding spore sacs on whatever it hits, charging up through three tiers. It needs three ingredients: a vial from a glowing scientist zombie that only appears once main power is on; spider venom, extracted by lowering the Lab A cage into the swamp, luring a spider in and raising it again; and a plant from the end of the underwater Divinium tunnel right of Mule Kick.
Beyond killing things it is a tool: it fertilises seeds, instantly pops small spiders and webs, breaks a Thrasher’s weak spots, and turns the orange spore clouds into blue ones that give you a speed boost and temporary immunity instead of a coughing fit.
The map also hides the Skull of Nan Sapwe, a specialist-slot weapon with two modes: Vaporize, which lifts and destroys zombies, and Mesmerize, which pacifies enemies and — more usefully — reveals hidden objects. You get it by carrying each of four bloody skulls from the Trials altar to its matching cleansing pedestal, surviving a defence wave at each. The symbols randomise every game, so the pairing has to be worked out fresh each time.
Three things matter. The KT-4 above; the Zombie Shield, returning from Origins with parts spread across Lab A, Lab B and the Bunker area; and the Gas Mask, which is the one people skip and should not. It stops the orange spores from disabling your sprint and your trigger finger, extends how long you can stay underwater, and does not take the equipment slot — so you can carry it alongside the shield. Its three parts are near the crashed plane, behind Lab B by the green pool, and in the cleansing-pedestal area by the Docks. It breaks after around ten spore hits.
Jugger-Nog 2500, Quick Revive 500 solo or 1500 co-op, Speed Cola 3000, Double Tap 2000, Stamin-Up 2000 and Mule Kick 4000. Widow’s Wine is free here, granted for killing the Giant Spider. There is no Der Wunderfizz, and Deadshot Daiquiri and Electric Cherry have no machines at all — the only routes to them are a Random Perk Bottle or a plant’s fruit.
Thrashers are the map’s signature threat. One appears whenever a mature wall spore touches a zombie. They down you in a hit without Jugger-Nog, enrage and sprint when injured, burrow, eat nearby zombies to heal, and will eat a downed teammate. Nukes and Insta-Kills do nothing to them — the only way to kill one is to shoot the spores on its body.
Spiders replace the hellhound round and start appearing on normal rounds after round 20. Behind the blue water pool near Lab A there is a cave holding the Giant Spider, which is only vulnerable in the mouth when it foams green, and which drops both a free Widow’s Wine and the fang the Masamune needs.
The main quest turns on the elevator. Mesmerize the torn blueprint in the Living Quarters, then Mesmerize the wall beside the derelict elevator to expose a generator missing three cogs. One cog is in a hidden room above Lab A, reachable only with the Anywhere But Here! GobbleGum — a hard requirement, so bring it. One comes from shooting down a cargo plane with the FlaK 88, using a flak shell grown from a blue-watered plant fertilised with the KT-4; the shell is not guaranteed, so grow several. The last sits on a small dock beneath the zipline, reached by using an electrified shield on the zipline control panel to drop off mid-ride.
Repair the elevator and everyone descends wearing a Gas Mask, with at least one player holding the Masamune. The fight is against the Giant Thrasher, and it is a patience test rather than a damage race: its four weak spots are time-gated, so the encounter takes several minutes no matter how well you shoot, while zombies, spiders and Thrashers keep arriving.
Completing it gives all nine perks — the perk slot limit is unchanged — plus the “Horticultural Heroism” title.
The island fights back harder than the zombies do, so high rounds are about controlling hazards: spiders webbing your escape route, Thrashers that punish body shots, and rain that turns lanes to mud. The KT-4 — and especially its Masamune upgrade — resets any collapse, and the Skull of Nan Sapwe’s mesmerize is a free crowd-freeze that doubles as your revive cover.
Most runs settle around the bunker, where the propeller trap does the point-free killing and the corridors funnel everything into one lane. Keep a zombie shield on your back for the free hits, keep a plant slot growing — perk and power-up harvests scale beautifully late — and use the ziplines as your panic reset when the loop dies.
Zetsubou No Shima is part of the Aether Story continuity.
Answers
Yes — Zetsubou No Shima supports completing its main quest solo.
Zetsubou No Shima is a Zombies map from Call of Duty: Black Ops III, released Apr 19, 2016.
Last reviewed Jul 15, 2026. Spotted an error? Suggest a correction.
Cookies & consent
Analytics and ads keep this site free — nothing loads until you choose. Privacy policy